There are many ways to cut a loading port and before you start there are some very important things to consider:
- What hand will you most often load with?
- Are you likely to use the other hand if a particular stage favours this?
- Will you load 2 or 4?
- Have you tried some guns with different cuts to see what works for you?
- If you are doing the work yourself are you 100% confident in your metal work abilities?
The bottom line here is that a mistake is potentially very expensive because inadvertently creating a functional problem could involve buying a new receiver to rectify the issue. We know of one shooter who did it wrong causing his follower and spring to come out with the cartridges at the point of “unload and show clear” on a stage! If you are unsure in any way that you can get this right first time (there is only one time when you cut something…) then we would strongly recommend getting someone with experience to do the work.
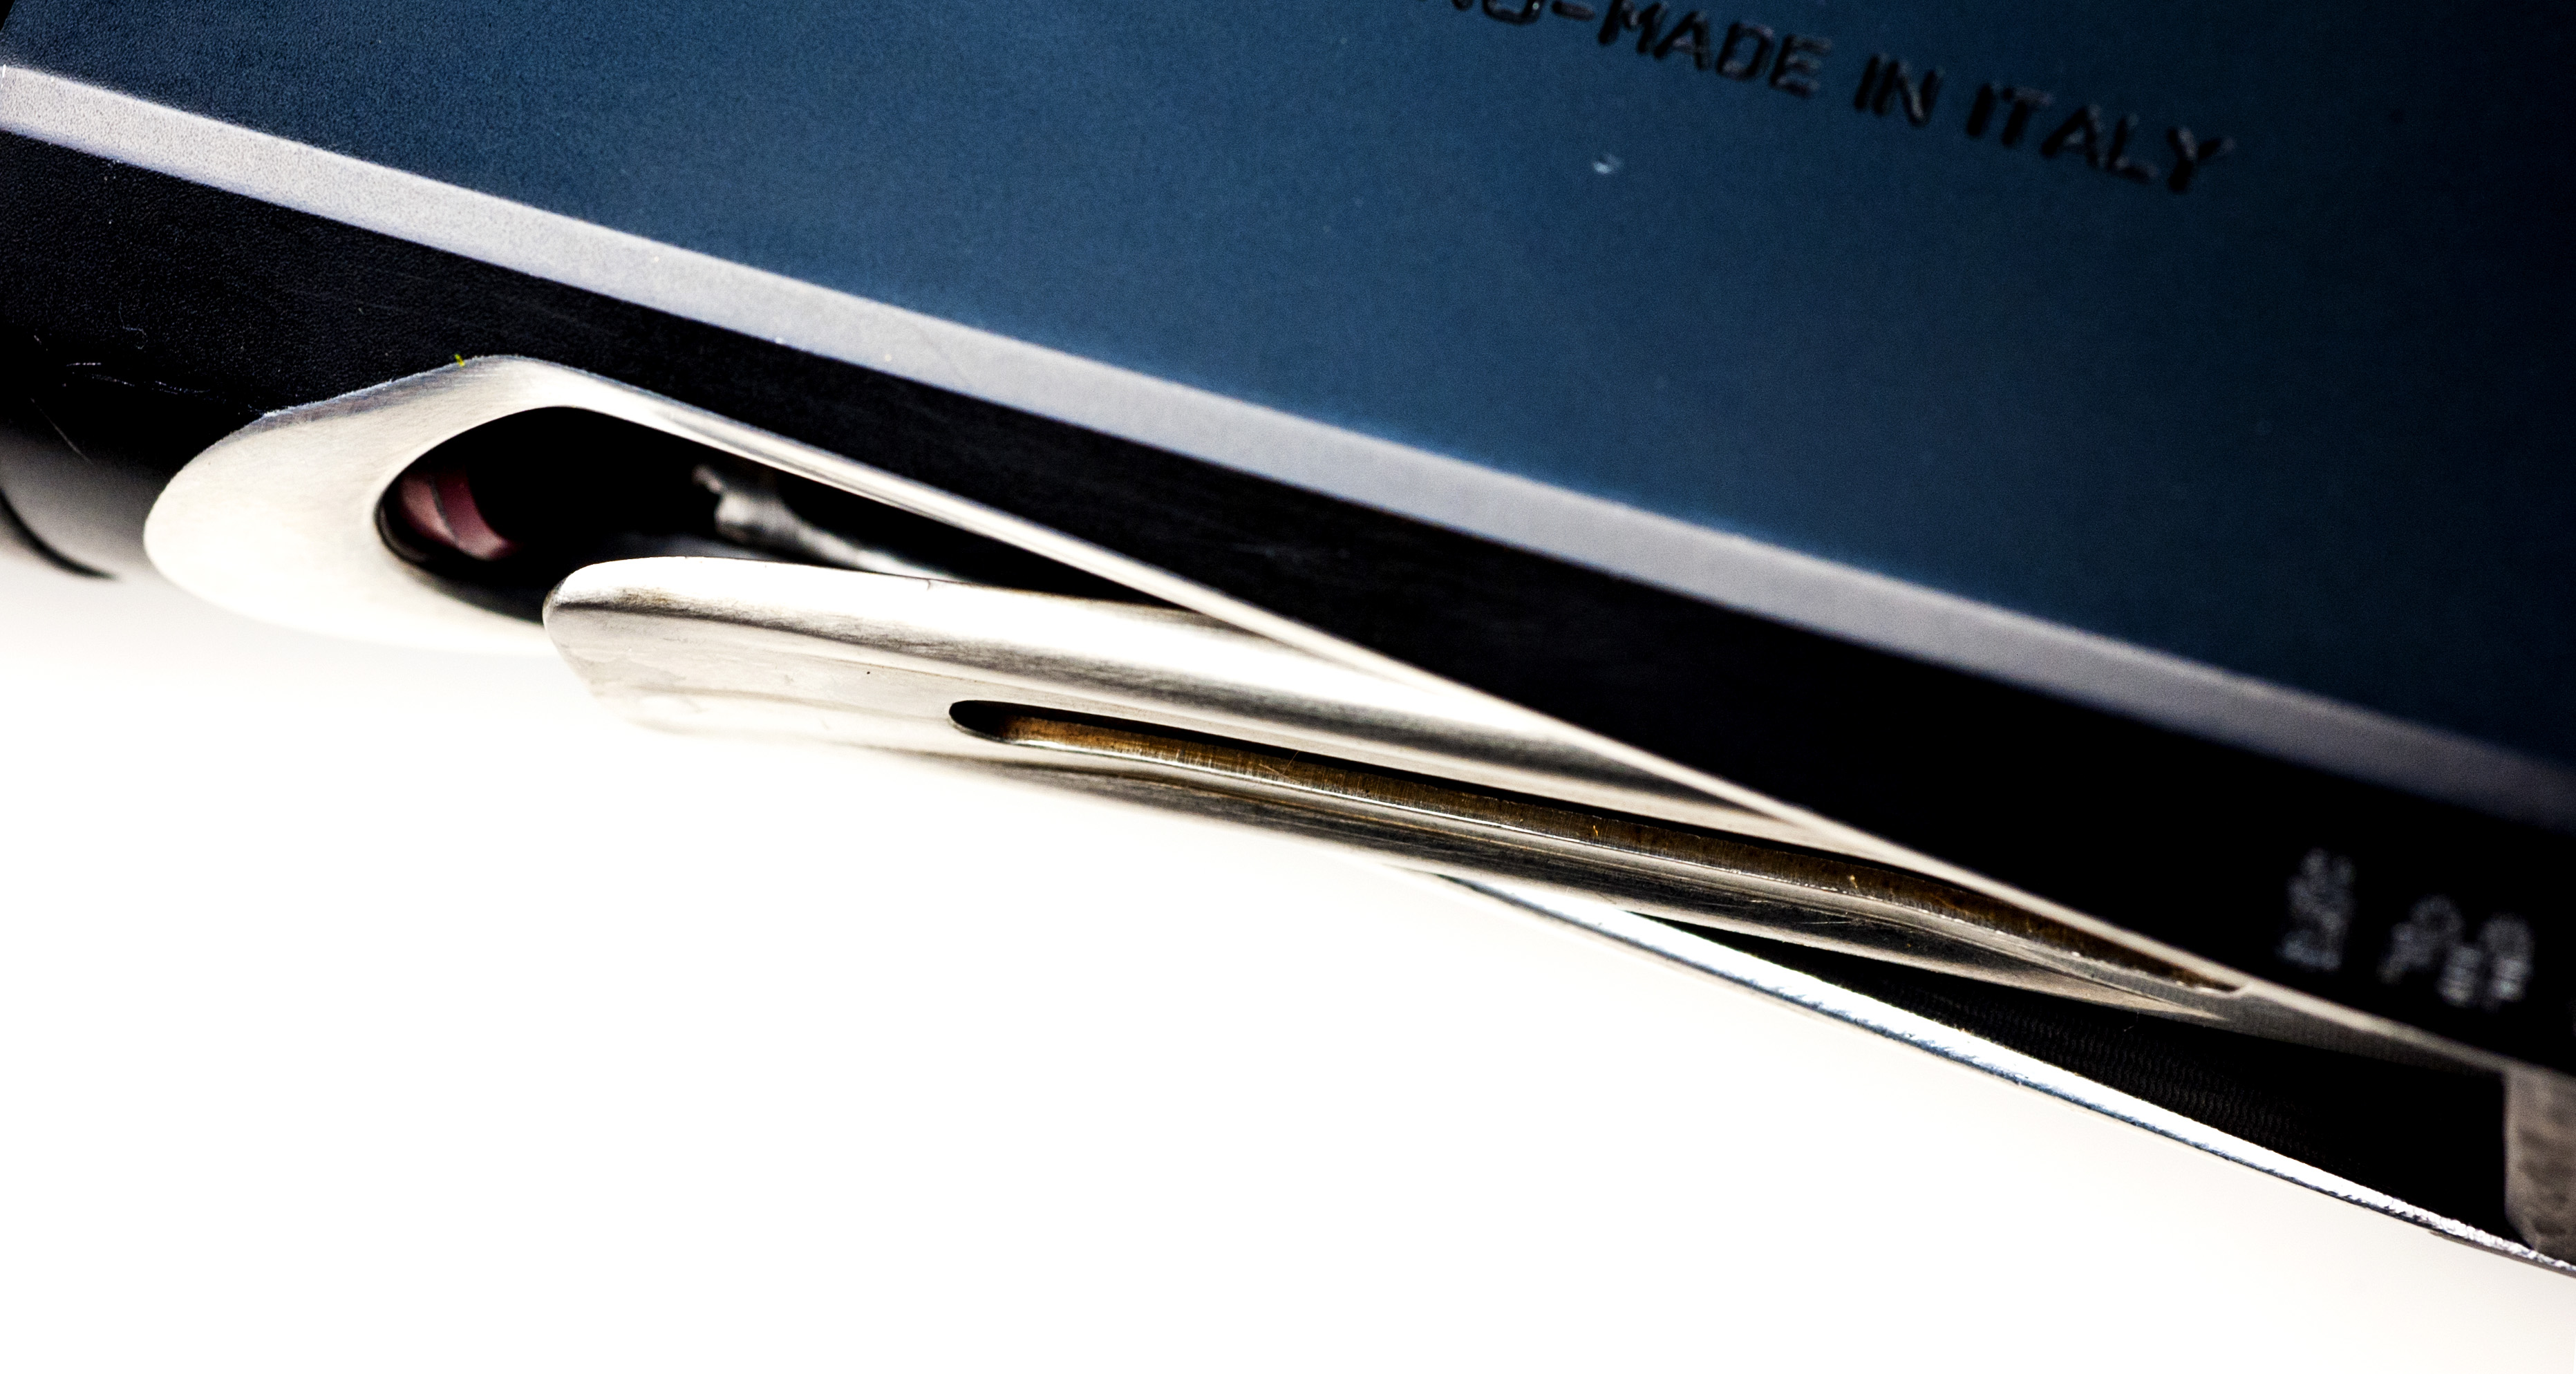
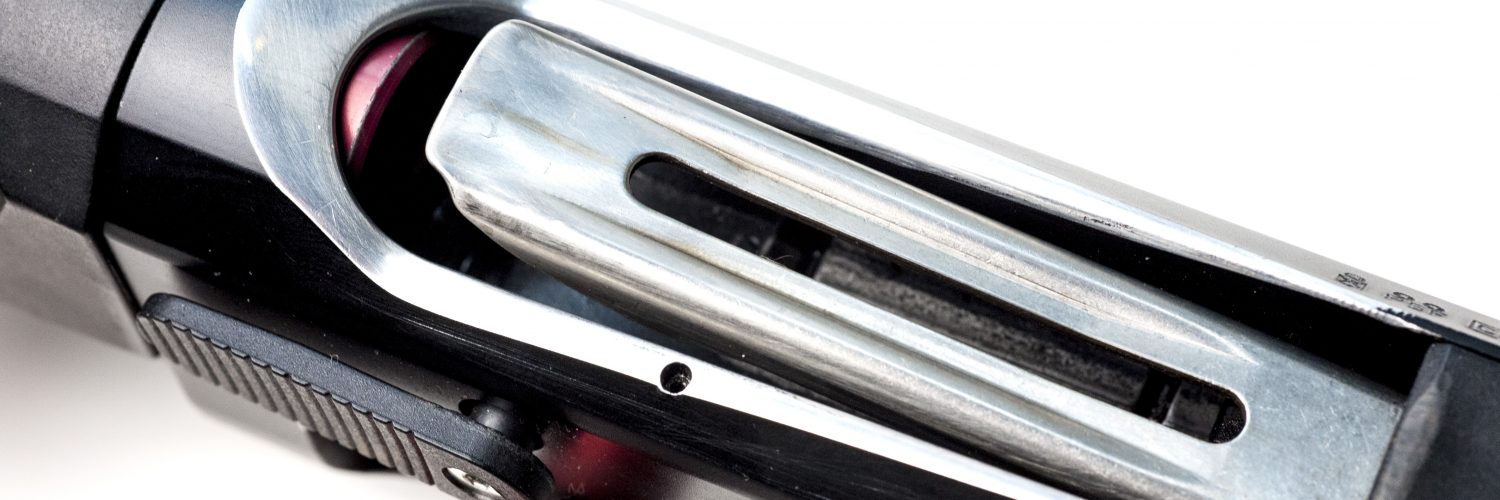
OK so now we’ve cleared that up let’s get on to the loading port, here’s one I did earlier:
Before
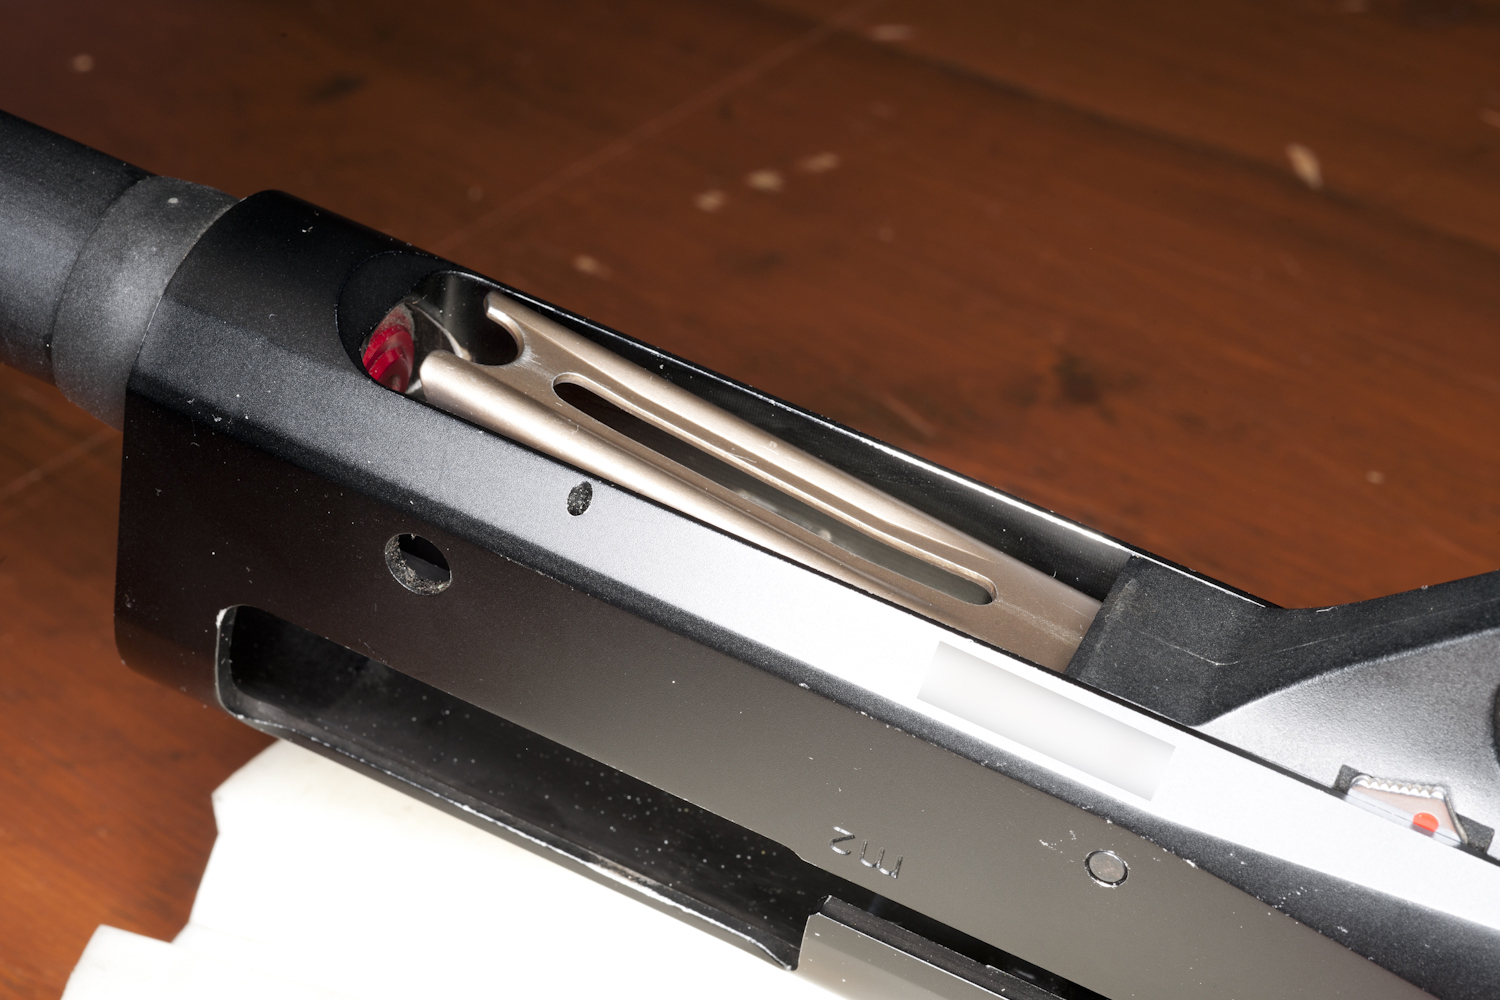
And after
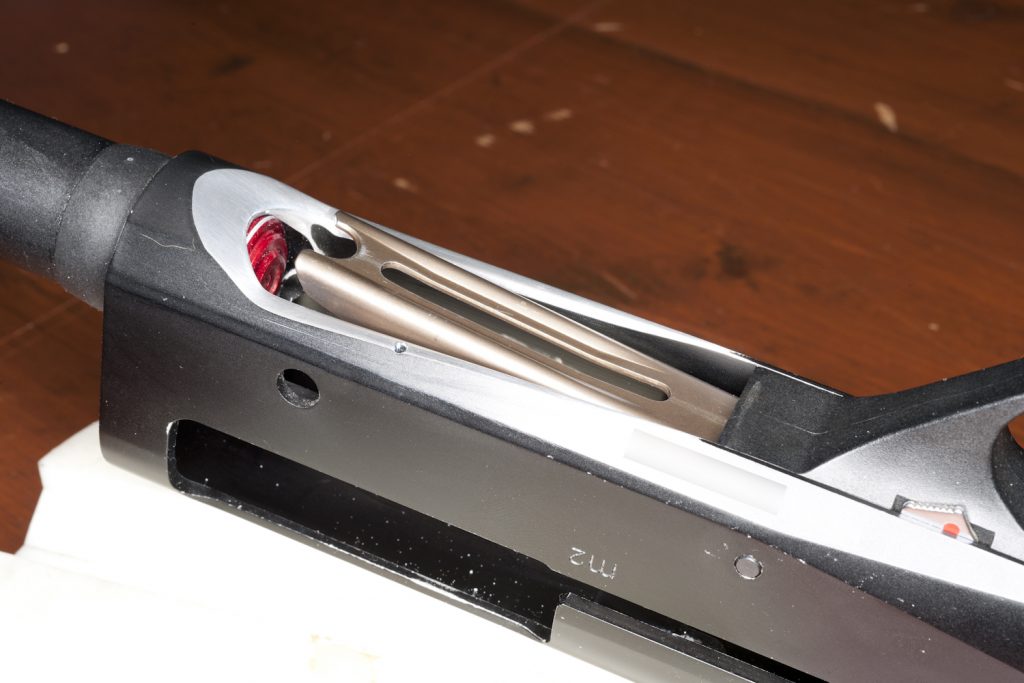
This is done to facilitate rolling the gun over in my right hand and loading with my left but with the option to load with the opposite hand as well, if the layout of a particular stage would suit that method better. Some might say this is indecisive, I prefer flexible… The main difference is that if I only ever loaded with my left hand, stuffing cartridges in with the gun slipped up on my shoulder, then I would have cut the far side of the receiver (in the picture) much lower than I have chosen to do. This would allow my thumb much deeper into the gun but having tried a gun that was cut this way I decided that it makes loading with the other hand (my favoured method) less predictable – the cut I chose allows me to do both but I must stress that this is a very personal thing!
One option is to do a “starter cut” for people who need a standard gun modified to enable them to start loading so they can take some time to decide for sure on a loading technique. This cut involves softening the side profiles on the port to make them smoother and flaring the inside of the magazine entrance to ease entry from the slightly raised angle that tends to result from loading twos or quads. I also improve the shape a little on the inside faces of the forward area of the port.
This cut takes me several hours to finish completely and I can do it without the owner being tied to a particular technique because it is so generic and can be taken forward into the required style in another session. The shooter can then go away and try loading methods and belts out until they make a firm decision, after that we can take the cut as far as required to suit their technique. In addition to the port work some modification to the forend is required for people who want to quad load.
Many methods exist for doing the metal work, these are my preferences:
- I make all the shaping cuts with hand files, this involves having a selection of files with different sizes, profiles and coarseness.
- The basic dimensions are done first, then the gun is reassembled and tested with dummy rounds
- It will be adjusted, rebuilt for testing and re-adjusted as often as necessary with the person who will use the gun present to do the tests so it is made specifically to work for them.
- When the shape is right I re-finish the surfaces with various grades of emery paper, starting at 180 and finishing with 600, after this no file marks will be visible.
- There is a lot of talk on forums about Dremels – I only use a Dremel for the very final stage when I put compound on a soft disk to polish the finished work to a mirror finish.