The majority of information about chokes is from research undertaken by clay shooters and while this data can help us in practical shooting we need to expand on the idea to make it more relevant to practical shotgun.
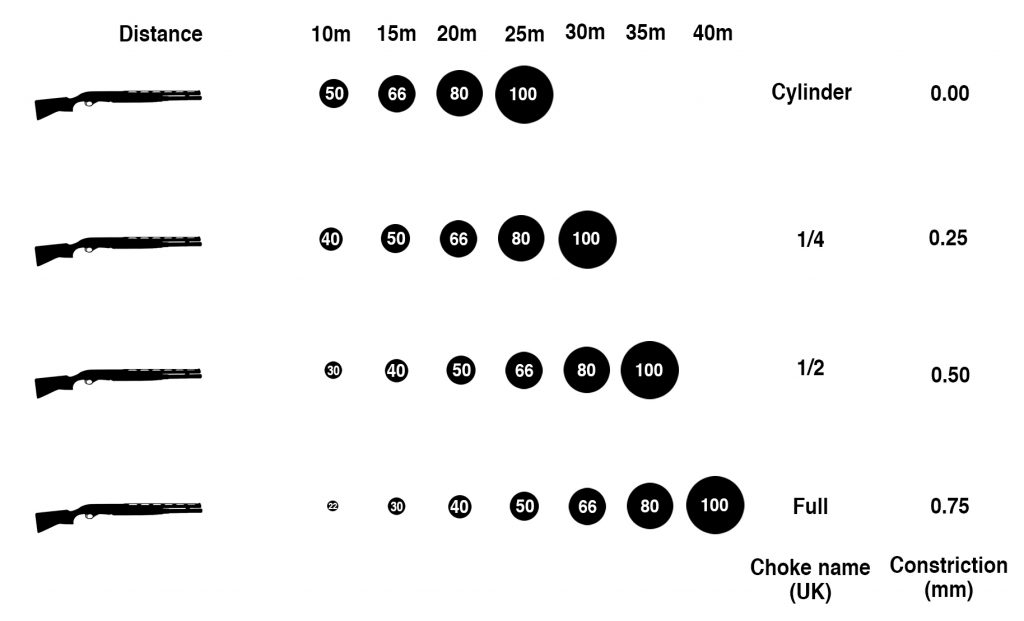
The basic principle stays the same for all birdshot shooting although different guns with different chokes and different cartridges will all produce slightly different results. This diagram showing shot pattern spread in centimetres is a good starting point to understanding how we can use chokes in practical shotgun – basically no matter what choke all the patterns end up at 100cm in diameter if we let the shot run far enough down range – Cylinder Choke makes a 1 metre pattern in just 25 metres where Full Choke needs 40 metres to be the same diameter.
Let’s break our objectives down for birdshot stages in practical shotgun and consider why choke is important:
- The majority of birdshot targets in practical shotgun are steel
- Most steel plates and poppers are scoring targets – we need to hit buy primobolan depot in usa athletic pulls buy these with enough shot from the pattern to make them fall
- There may also be penalty targets in close proximity to the scoring targets – we need to keep shot away from these to avoid knocking them over
- We may also encounter frangible targets (clays); some will move, some are static and some may be penalty targets
There is one underlying principle governed by the rules for stage design which we need to look at before going any further, this is covered in detail in our article about CALIBRATION, but it basically tells us:
All stages must be set up so that the scoring targets can be sufficiently hit to fall (or break if they are frangible) without incurring penalties and this must be possible with standard match ammo in an open choked gun with a barrel no longer than 66cm.
 So, I hear you say, if the whole thing must be possible with an open choke then why do I need all of these? Well the truth is that the bloke who does the calibration tests has an advantage – he has all the time in the world to aim very carefully and position himself very precisely – where you, in stark contrast, are shooting against the clock! It is also common practice in (good) stage design to provide access within the shooting area to positions which enable the calibration shooter to get clean scoring hits by going to positions that are far away from the fastest route through the stage which the competitors will want to use. It’s much the same as short exposure moving targets where you are told “this target remains visible at rest”. Of course this makes it a penalty if you miss and it’s probably not visible from the place where you shot at it… but if you backtrack on a 30 second detour then it is possible to get another shot when it comes to rest. The course designer knows most people won’t sacrifice the time to make that shot up so it’s there to put pressure on the shooter to get the hit. Yes, that’s what we do as course designers…
What does all this mean for a practical shotgun competitor?
There is only one way to know how much pattern your gun produces with different chokes and ammo, that is to shoot it at a test target. We use rolls of wallpaper and some clay ranges have a metal plate you can paint for this purpose but you need to shoot the cartridges you will use through the chokes you will be using in your own gun. Sorry to say there are no shortcuts here, of course you can take a guess and get stuck into some matches to see what happens but this is probably a slow and expensive way to get the data.
If you are going to buy ammo at a match because you are flying and you can’t take enough within the 5 kg CAA limit then you would be best to get some cardboard boxes and a test range at the venue to see what you bought actually does. This sounds extreme but many shooters have been caught out in this way and you don’t have to test every choke at tiny distance increments but you should try a few combinations to see how what you bought at the match compares to what you normally use at home. Oh how I wish somebody had told me this when I started to shoot around Europe!
How much shot do you need to get on target to score?
With steel it’s all about energy, heavier steel targets like larger plates or poppers can need quite a bit of shot, quite a high percentage of the entire pattern in extreme cases, so more shot on target is always more certain to score. Also remember that the further away a target is placed the more your shot will have decelerated on the way, this reduces the energy delivered when it arrives. Finally the angle the target sits on its base affects the required energy, if you are in a match where the shooters do the reset then look out for targets with a big forward lean as these will need to be hit harder. If you are at a match with resetting crews then look at the targets closely during walkthrough, if in doubt go right over and look at them side on, you are allowed out of the shooting area when you are on walkthrough. The only way to succeed, despite these variables, is through experience and you should put different targets at various ranges and experiment with setting them to various lean angles when you practice.
With frangible targets one pellet can do all you need but getting the centre of the pattern closer to the target is more certain to score.
How little shot on target can get me a penalty?
Penalty steels can fall with surprisingly few pellet strikes, of course you get to see these as described in our article about PENALTIES, but one general rule is that hitting a target higher tends to exert better leverage and is more likely to topple it over.
Penalty frangibles are best avoided by some margin as one pellet is enough to cost you the penalty score. It is sometimes possible to position yourself so the penalty target is hidden by stage furniture while you shoot at adjacent scoring targets but you should be aware that pellets can go through some materials and worse still if there is anything around or behind the target then there is a possibility for ricochets to earn you a penalty!
Penalty frangibles are thankfully not all that common yet but they are popular in France and, rather like paté, could spread at any time.
Tighter chokes produce smaller diameter patterns by making longer shot strings.
This is good news on fast swingers because the pattern diameter may be quite small but the longer shot string gives the clay on the swinger a chance to run into some of the shot if you place the start of the string a little ahead of the path it travels, this is called leading, you shoot ahead of the target’s leading edge.
How on earth can I remember all this under pressure during a stage?
You won’t, so the key to success here is twofold:
- Train effectively by using different target scenarios that help you develop instinctive abilities when it comes to shot placement
- Plan your shooting positions well when you do have some time during the briefing and walkthrough period
The process of aiming off will be cognitive at the start as you ask ‘where should you shoot to put the pattern in the right place’ but this develops with practice into a very subtle, completely subconscious, change in split times where the splits rise a little in target arrays which include penalty targets and reduce back down in the parts of the stage with exposed scoring targets. Watch a really good shooter, like a single digit world ranked guy, and you will notice tiny time differences in the splits as the targets differ in proximity to penalties.
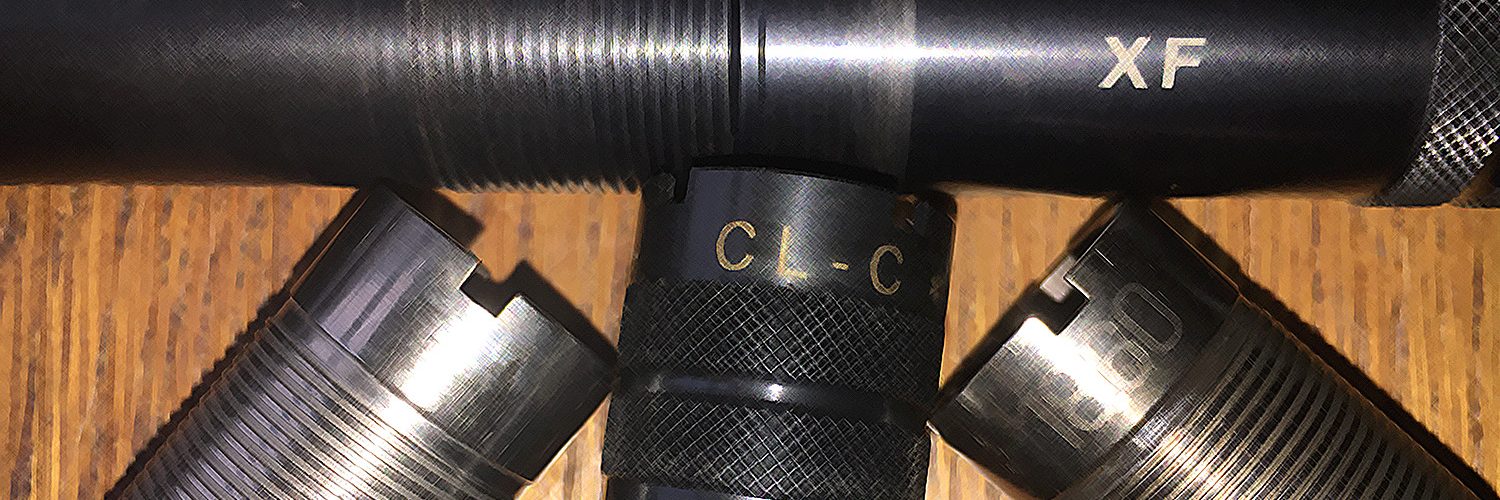
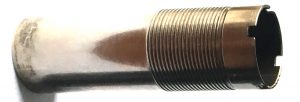
I see people with chokes of differing length for the same gun, why is this?
 Most standard chokes that come supplied with a multi-choke gun are flush, they are unscrewed using a key that grips a few slots in the choke.
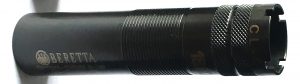 Many people prefer extended chokes that have a knurled portion outside the barrel as this facilitates choke changes without needing a key, some also aid identification of which choke is fitted with writing and/or colour coding.
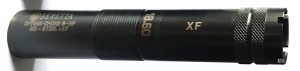 Beyond this there are long extension chokes like this +50mm choke because some people think they notice pattern differences with longer barrels, this choke effectively makes a 24″ Beretta 1301 into a 26″ gun. You should test this theory before investing.
One word of warning here, it is a bad idea to have an exposed choke that reaches beyond the length of your magazine tube, if it collides with a screen frame or some other solid object it could get damaged or worse yet damage your barrel.
What choke to use for slugs?
This should always be the most open choke you have available and most not be tighter than 1/4 for most slugs. You can not squeeze a solid slug into a different shape in your choke, if you try the slug and choke will go downrange together leaving a badly damaged barrel behind them. If you are in any doubt cut a cartridge open and try the slug, including any cup it may sit in, by pressing it through the choke you intend to use. If you need more pressure than one finger can exert then you need a wider choke.
What choke works best for buckshot?
This is dependant on the configuration of the buckshot cartridge but you should be aware that buckshot does not conform to choking the same way as birdshot and after a certain constriction it will stop getting any tighter in pattern and will instead start to produce flyers. The only way to select the right choke for buckshot is to test every choke you can get your hands on with the buckshot ammo you will be using. You must find the choke which gives the smallest possible group with no flyers outside the main pattern, this will give you good scoring hits as well as avoiding collateral damage to nearby penalty targets of the type often found on buckshot stages.